Every silicone product you hold started as an idea in someone's head. Turning that idea into a part you can actually sell is a rigorous, staged process — not a single leap. At CYES SILICONE we move through eleven deliberate steps, and we do not advance to the next one until the current step is confirmed. Here is the full journey, from the first spark to the finished product in the customer's hands.
The Complete Journey at a Glance
- Idea
- Sketch
- Revision
- CAD Modeling
- 3D-Printed Prototype
- Prototype Mold
- Near-Final Sample
- Production Mold
- Sampling
- Pantone Color Matching
- Mass Production
Step 1 — The Idea
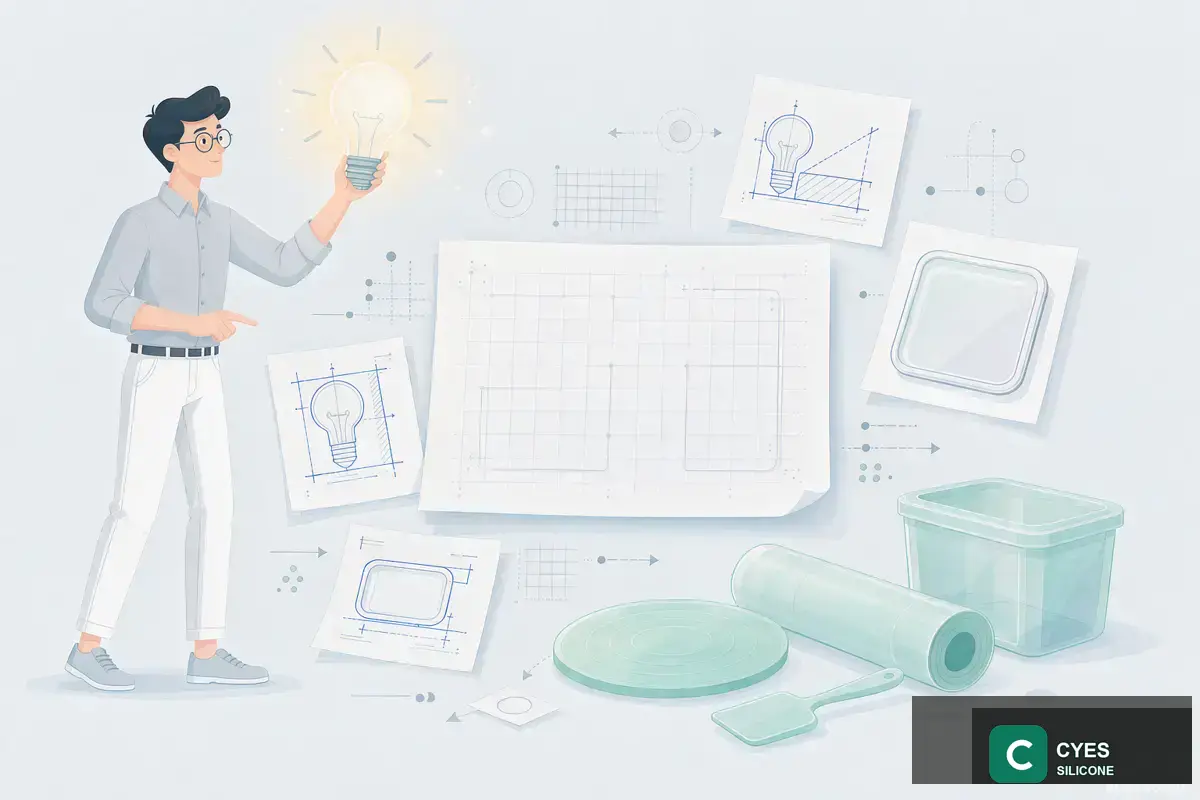
Every project starts with a clear articulation of what the product should do, who it is for, and what problem it solves. This stage is about capturing the intent before any drawing exists: the target market, the function, the rough size and feel, and any constraints such as food-contact or medical requirements. A well-defined idea is the anchor that every later decision refers back to.
Step 2 — Sketch
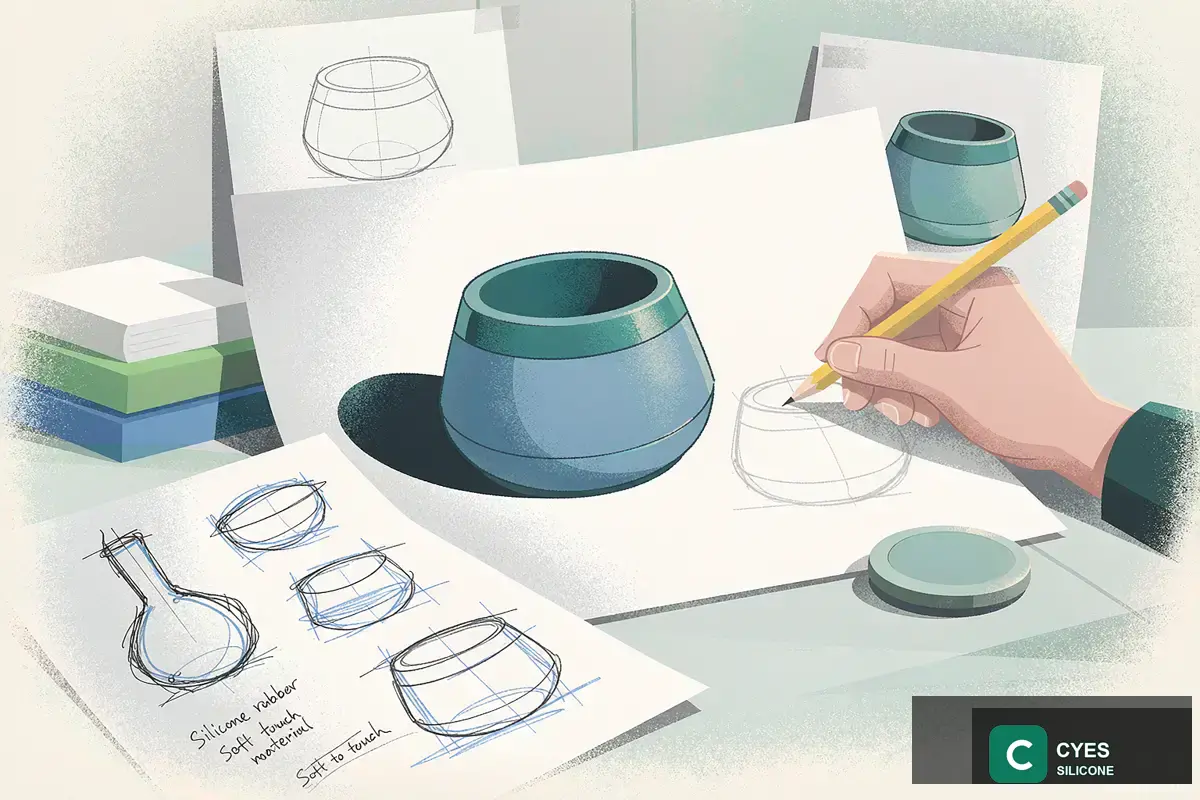
The idea is translated into rough hand sketches. At this point we explore shape, proportion and basic function — nothing is fixed. Multiple quick sketches let us and the customer compare directions cheaply and quickly, before any time is invested in detailed work. This is the fastest, lowest-cost way to find out whether an idea makes sense as a product.
Step 3 — Revision
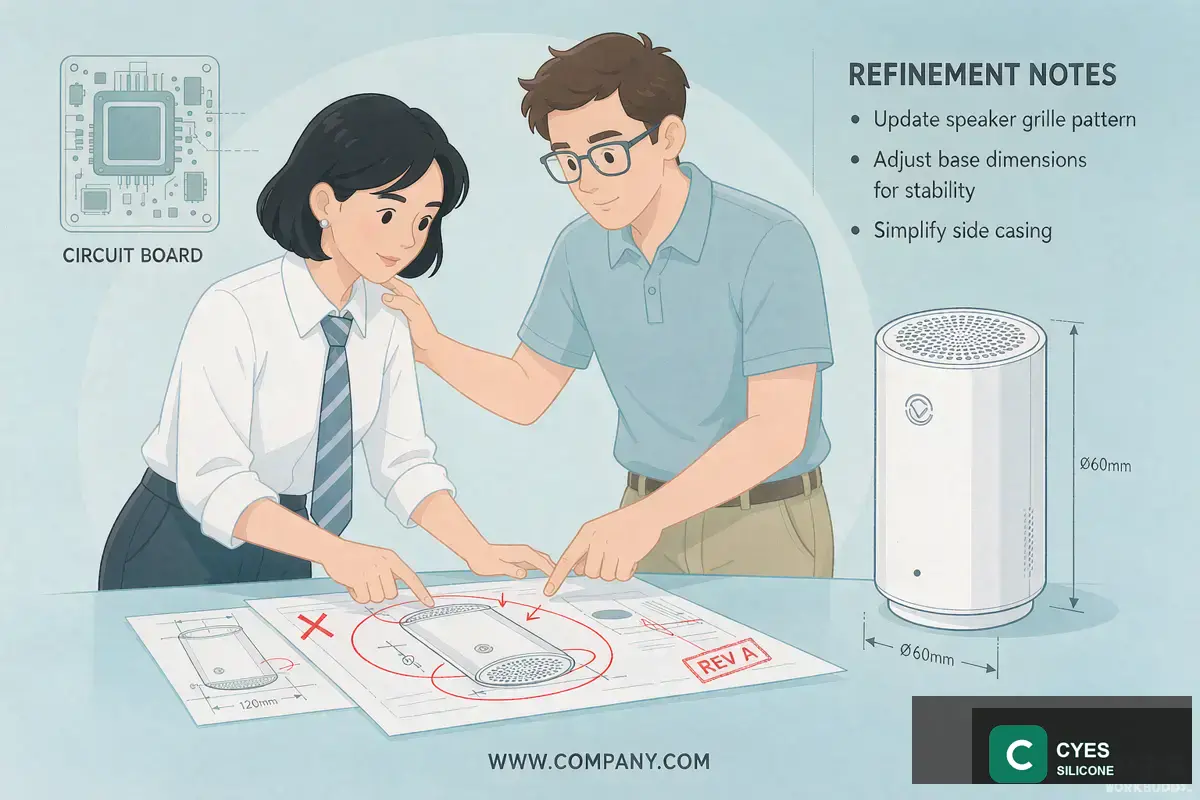
Sketches are reviewed together, and the design is revised. Corners are rounded, walls are thickened or thinned, a lip is added or removed. This back-and-forth continues until the customer is preliminarily satisfied with the direction. Revisions at the sketch stage cost almost nothing — the same change made later, on tooling, would cost real time and money.
Step 4 — CAD Modeling
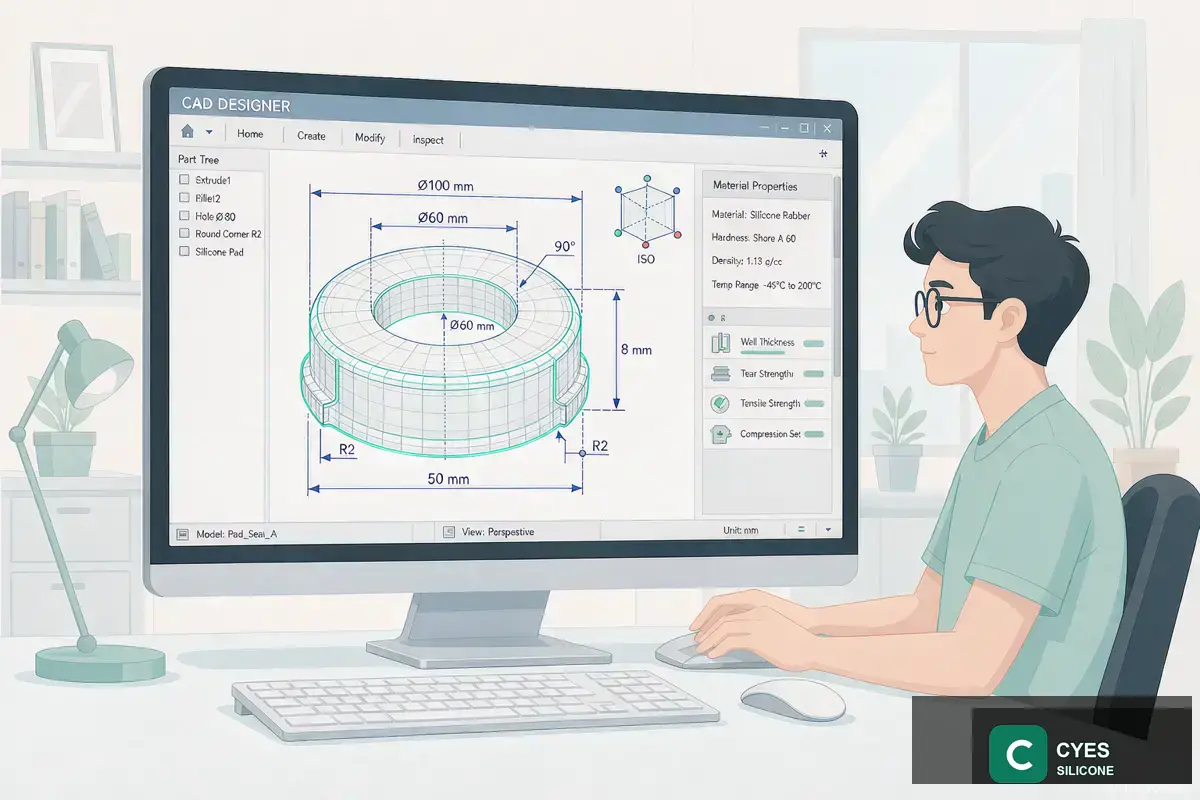
Once the direction is confirmed, the concept moves into 3D CAD. Every dimension, draft angle, wall thickness and tolerance is now defined numerically. The CAD model becomes the single source of truth for everything that follows — the prototype, the mold, and the inspection plan. It is here that our engineers apply design-for-manufacturability checks, catching molding problems before they are built into the part.
Step 5 — 3D-Printed Prototype
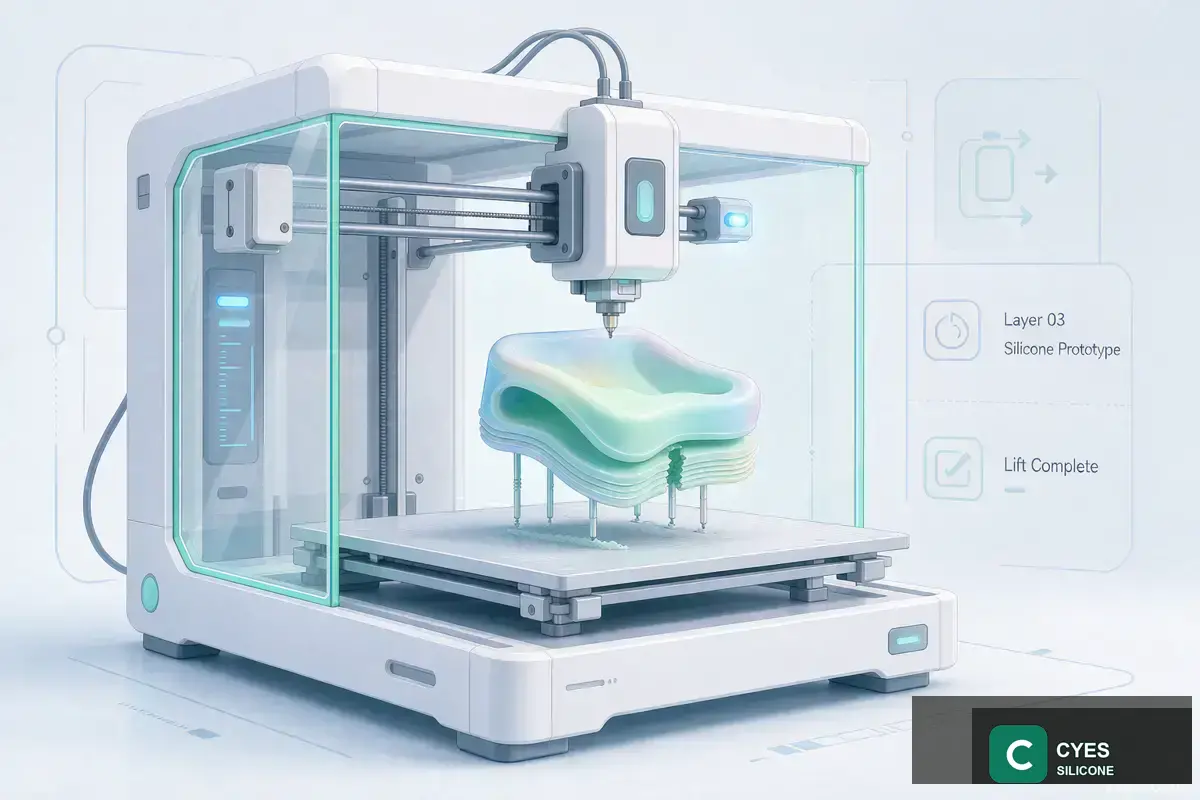
Before cutting any mold steel, we 3D-print a prototype directly from the CAD file. This gives the customer a physical object to hold, feel and check against the intended use — within days rather than weeks. The prototype confirms ergonomics, proportions and general function, and is often the moment where hidden issues become obvious while they are still trivial to fix.
Step 6 — Prototype Mold
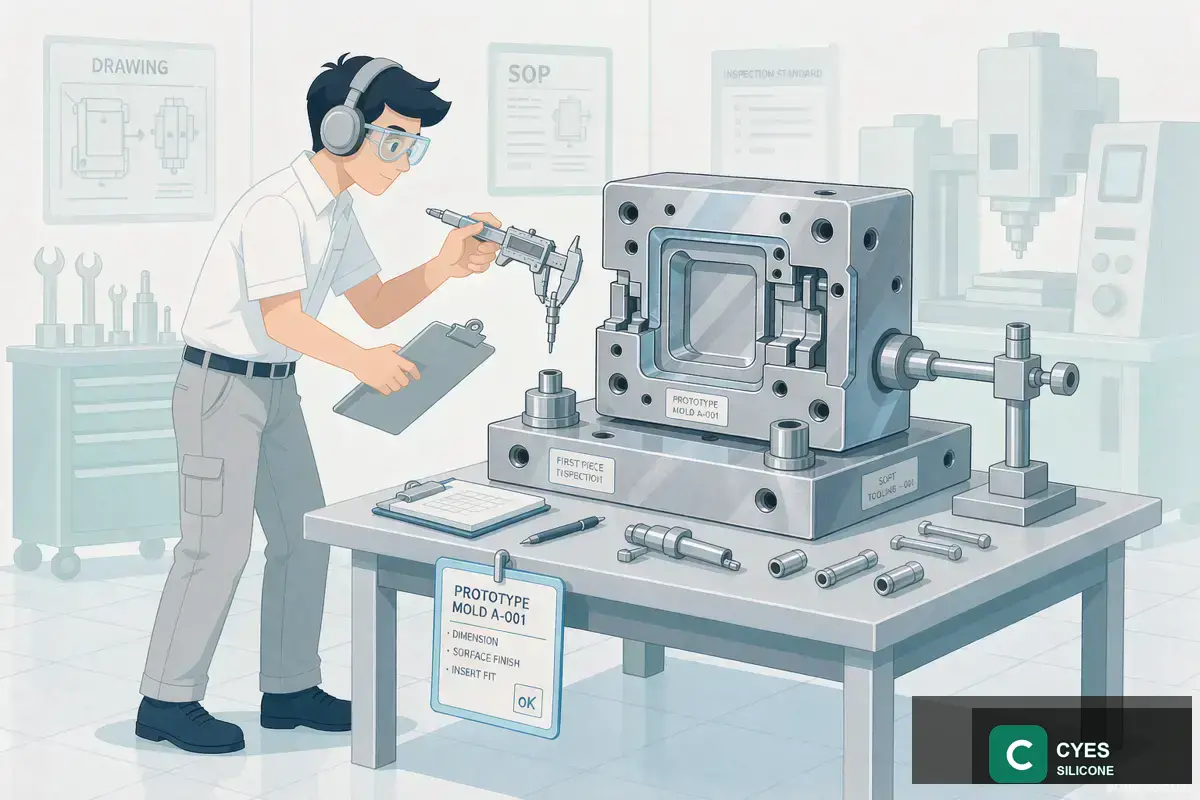
A 3D print shows the shape, but not the material. So we next build a prototype mold — a low-cost, short-run tool that molds the part in the actual production silicone. This is where the part's true flexibility, hardness and surface finish are first experienced. A prototype mold is deliberately inexpensive, because it exists to be changed: any design refinement found here is still far cheaper than modifying production steel.
Step 7 — Near-Final Sample
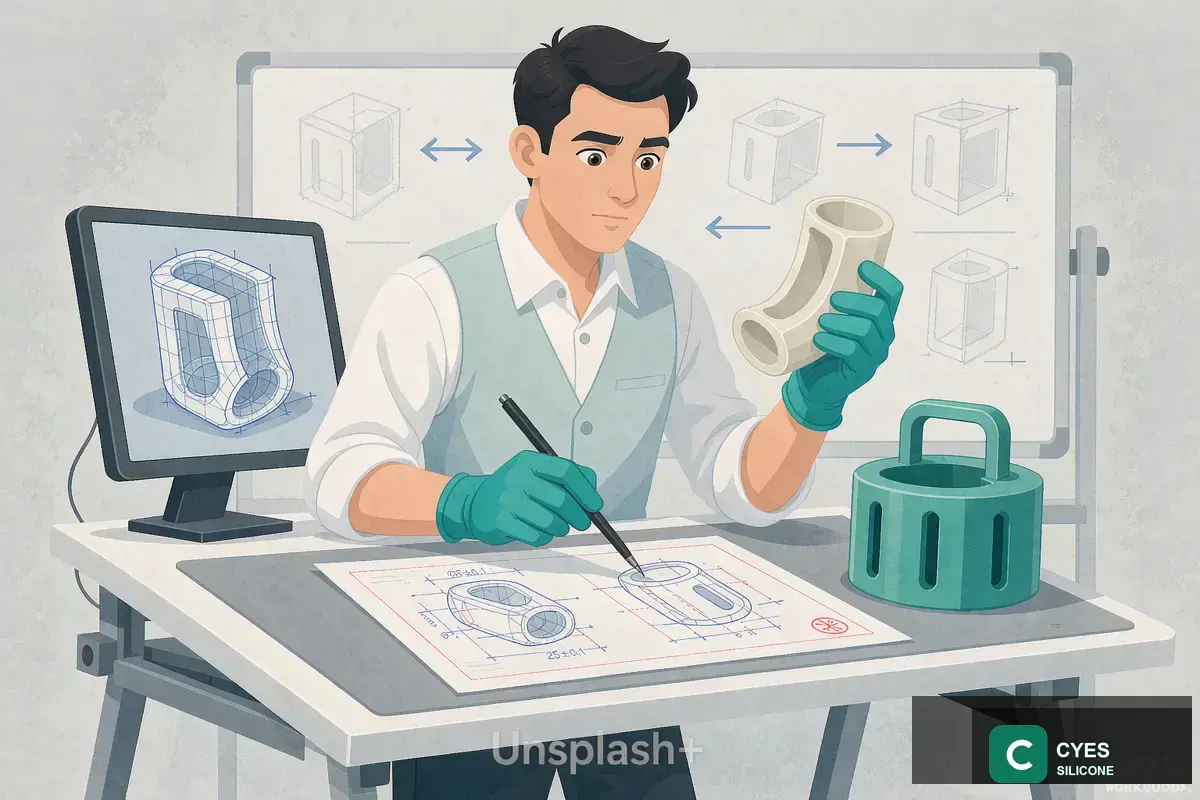
The prototype mold produces a sample close to the finished product — correct material, correct shape, correct feel. This near-final sample is the point of truth: the customer holds something that behaves like the real product. It is reviewed against the specification, and only after confirmation that there are no errors do we commit to the significant investment of the production mold.
Step 8 — Production Mold
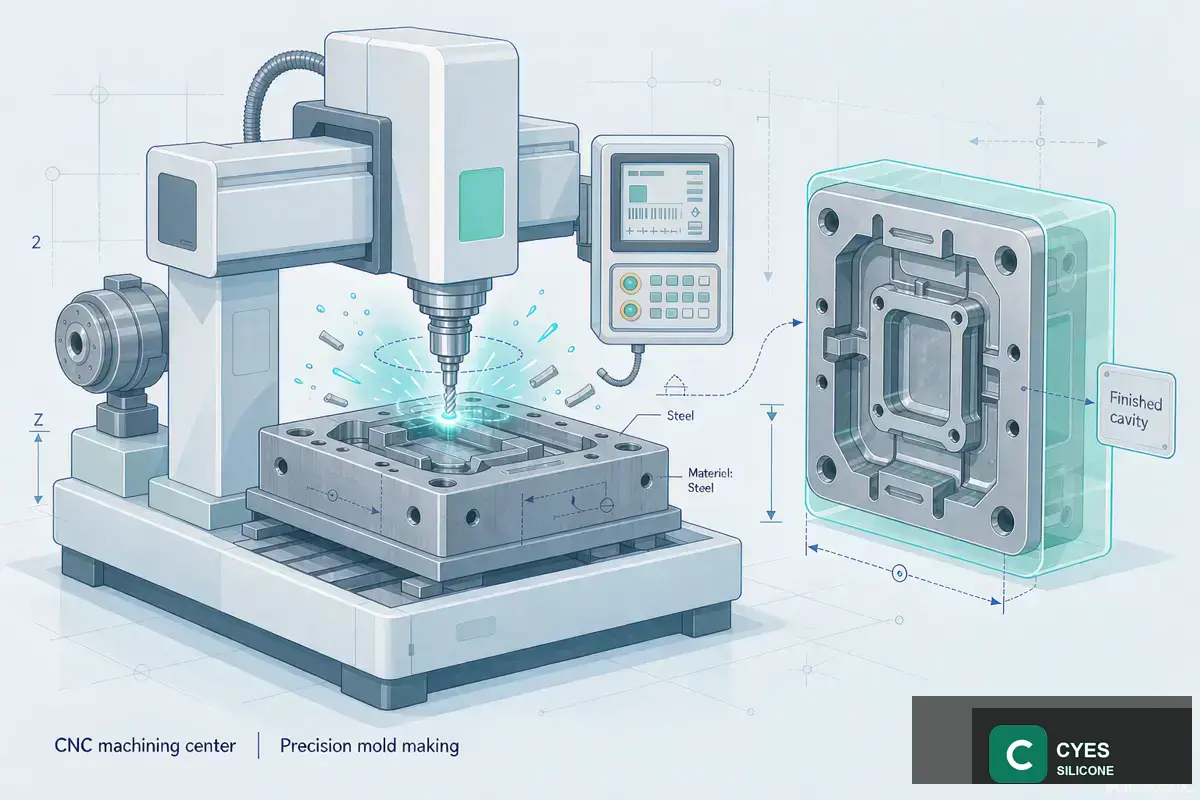
With the design locked, we cut the production mold — precision steel tooling built to last the full production life of the part. This is the largest single investment in the project, which is exactly why every earlier step exists: to confirm the design before this point. Our in-house tooling uses CNC machining, EDM and mirror-polished cavities, with lifetime maintenance on the tools we make.
Step 9 — Sampling
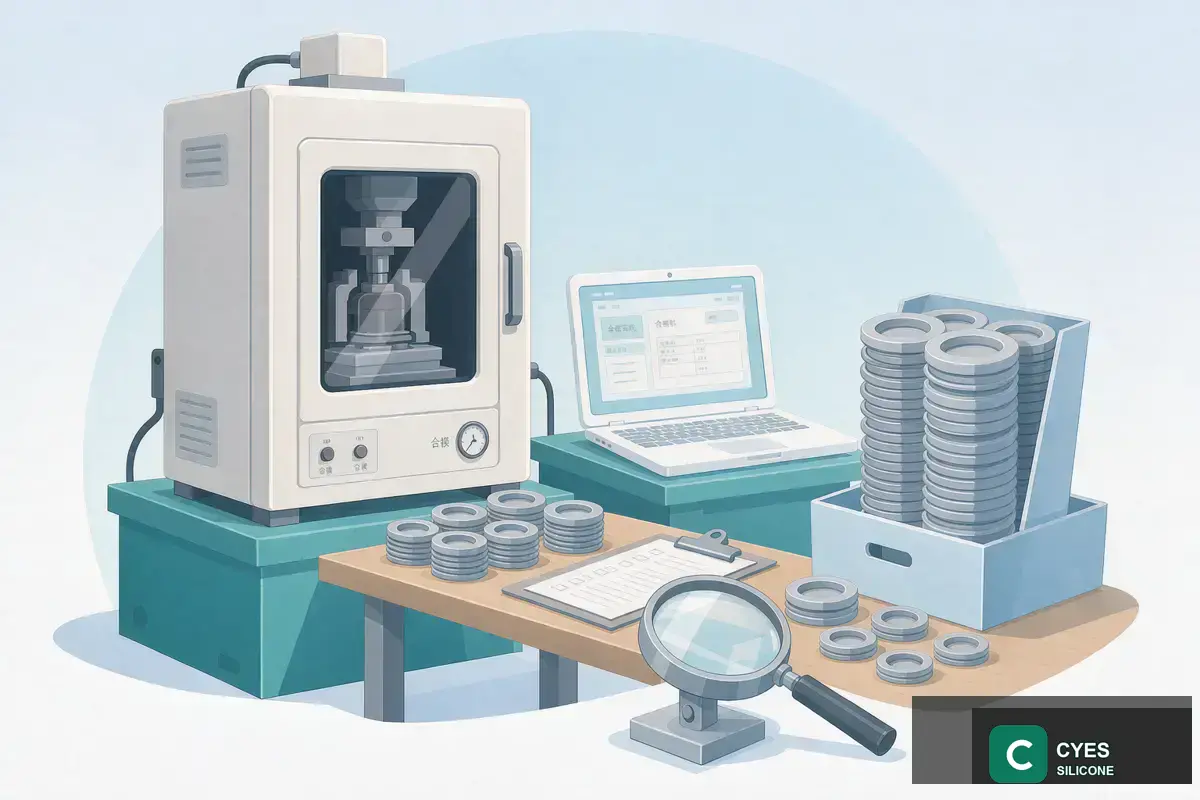
Once the mold is complete, we sample it — running the tool to produce the first parts from the actual production mold. These samples are measured against the CAD dimensions, checked for flash, flow lines, and any molding defects, and sent to the customer for review. This is the first time the part comes from the exact tooling that will run production, so any residual issue is addressed here, before volume.
Step 10 — Pantone Color Matching

Color is not an afterthought — it is confirmed as rigorously as the geometry. The molded sample is matched against the customer's Pantone reference under controlled lighting, and the pigment masterbatch ratio is adjusted until the color lands within a tight tolerance (ΔE ≤ 1.5). Only when shape, function, color and dimensions are all confirmed is the recipe frozen. See our silicone material guide for how color is controlled in-house.
Step 11 — Mass Production
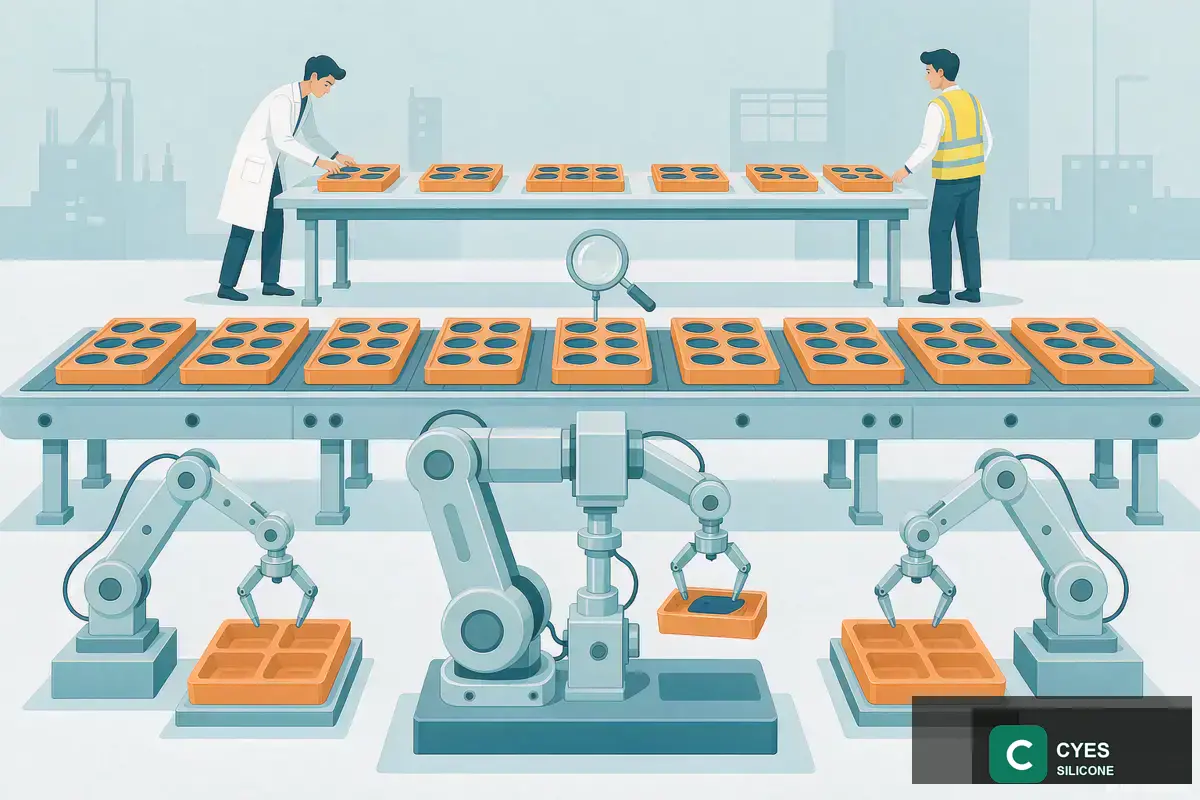
Only when every detail — shape, function, color, dimensions and material — has been confirmed against the approved sample do we begin mass production. The confirmed sample becomes the golden sample that every production batch is checked against. From here the part moves through our quality system — statistical process control (Cpk), cleanroom molding and inspection — so that every unit matches the approved standard.
Why so many steps? Because each one is a cheap insurance policy against the next. A change caught in a sketch costs pennies; the same change caught after the production mold costs thousands. A rigorous process is simply the cheapest way to guarantee the best product reaches the customer.
Why This Process Matters to Buyers
- No surprises. Shape, function, color and dimensions are confirmed at multiple checkpoints before volume — so what you approve is what you receive.
- Cost control. Design errors are caught at the cheapest possible stage, not after expensive tooling is cut.
- Traceability. The CAD model, golden sample and locked color recipe give every production run a fixed, verifiable standard.
This development discipline is part of our broader engineering and quality system — see our DFM design guide, mill mixing process and full manufacturing process for the rest of the picture.